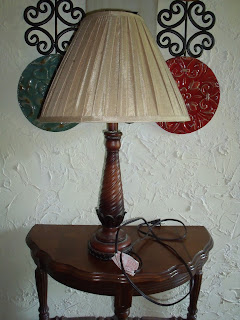
You are
walking through your favorite flea market or antique mall and you see a lamp
that would look great in your house or apartment. You start to look at it to see what kind of
shape it’s in, and you notice the cord is frayed. How do you change it so that you can use the
lamp?
The first thing you need to find is a replacement
cord. A local home improvement store
will more than likely have a replacement for you.
The next thing that you need to do is to disassemble the
light socket so that you can get access to where the cord attaches.
A piece of advice: I would look at the socket before I
did anything else. I’ve seen sockets
with rust, corrosion and damage to where it would be unsafe to turn the lamp
on. If there’s anything wrong with the
socket, it’s a good idea to replace it now.
More often than not, you’ll get a replacement socket when you buy the
cord.
When you purchase a new cord at a home improvement store, it will have the end of the
cord already stripped for you so that you can reattach it without having to
worry about stripping the wire. After
you get the new cord on, pull on the cord at the bottom of the lamp to remove
all of the extra slack that you gave yourself.
Installation of the cord is just as easy as removing it. The first step is to feed the cord through
the lamp in the area where you removed the old one. When you get the cord all the way through the
lamp, leave yourself a little extra room so that you can attach the light
socket.
After you take out the extra slack in the cord, all you
have to do is to put the cover on the light socket. If I were you, I would put a light bulb in it
and plug it in to see if it works before I did anything else.
When it works, you can put on the lamp shade and
proudly display your latest find. What
kinds of finds have you run across that needed a little repair work like this?


No comments:
Post a Comment